This article is a stub. You can help Repair Wiki grow by expanding it
| Short on 12V or 3.3V rail on Navi (RX 5000) GPUs Repair | |
|---|---|
| Device | |
| Affects part(s) | |
| Needs equipment | |
| Difficulty | |
| Type | |
Problem description
Identifying the cause and repairing Navi GPUs when a short on either the 12V or 3.3V (Base rails) line occurs. This causes the entire PC to not turn on because the PSU will be under Over Current Protection (OCP). Learn more about base voltage rails here
Symptoms
- Sub 100 Ω on the 12V_Bus, 12V_EXT, or 3.3V_BUS.
- Computer won't power on or instantly shutting down upon pressing the power button.
- Fans not spinning (in case of blown fuse).
Solution
Diagnostic Steps
- Identify which rail is shorted by measuring the resistance of each. Navi GPU Diagnosing Guide here you can find points to measure from
- Inject 1V 10A to the shorted rail
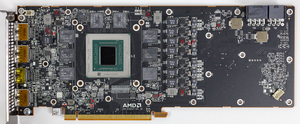
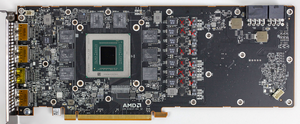
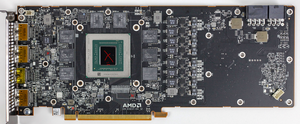
- Check with thermal camera or isopropyl alcohol for hotspots, all possible shorts are in the attached photos.
- In the case of 12V short, make sure to measure VCore voltage while injecting, if you read any voltage higher than 0.1V then a MOSFET is likely shorting 12V to the GPU then to GND.
- If this is the case, remove the black power supply lead and connect it to VCore. This way you can inject higher voltage without the risk of killing the core.
- In the case of 3.3V short, it is highly likely that the core is the culprit!
Repair Steps
- After the shorted component has been identified, remove it.
- If the short is still present, repeat the diagnostic steps until you find the other shorted component.
- If the short is gone after removing the component, replace it.
- In the case where the shorted component was a MOSFET and after replacing it shorts again immediately, replace the controller/driver for this MOSFET.


