More actions
AnonRepair (talk | contribs) (Added T16 Gen2 AMD screen replacement guide) |
AnonRepair (talk | contribs) m (Fixed medium diff) |
||
| Line 7: | Line 7: | ||
iFixit Essential Electronics Toolkit will be handy. | iFixit Essential Electronics Toolkit will be handy. | ||
|Type=Method | |Type=Method | ||
|Difficulty=Medium | |Difficulty=2. Medium | ||
}} | }} | ||
== Problem description == | == Problem description == | ||
Latest revision as of 12:16, 20 September 2024
| Lenovo ThinkPad T16 Gen2 AMD screen replace | |
|---|---|
| Device | ThinkPad T16 Gen2 AMD |
| Affects part(s) | Screen |
| Needs equipment | Philips 0 bit
Something to lever up the screen frame iFixit Essential Electronics Toolkit will be handy. |
| Difficulty | ◉◉◌◌ Medium |
| Type | Method"Method" is not in the list (Soldering, Teardown, Part replacement, Cleaning, Software, BGA, General) of allowed values for the "Repair Guide type" property. |
Problem description
Sometimes your LCD faults, or you just want to upgrade your screen (i.e. 300 nits → 400 nits).
Symptoms
- Screen is broken
- You want to upgrade your screen
Solution
Diagnostic Steps
- Test with known good parts
- Test with the another screen if possible
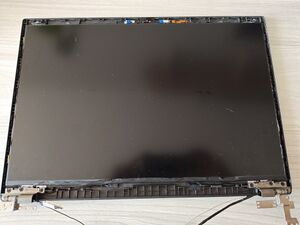
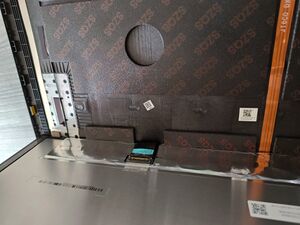
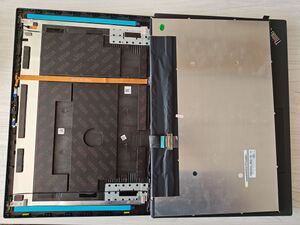
Repair Steps
WARNING! You might damage the black tape around your old screen due to it being glue to the screen frame (Figure 9) or your entire old LCD screen unit!
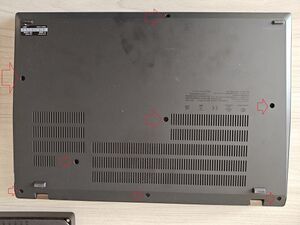
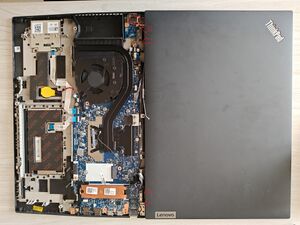
- remove laptop bottom screws (Figure 1)
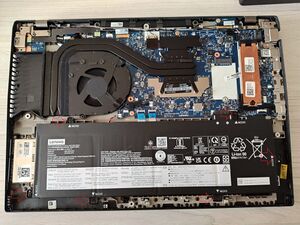
- disconnect battery (Figure 2)
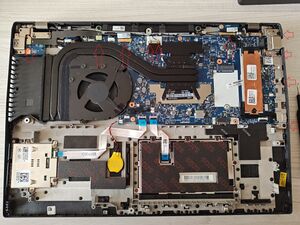
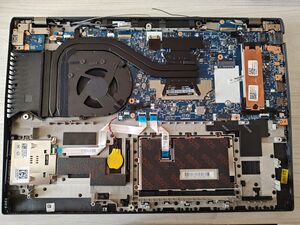
- disconnect (Figure 3):
- USB connector for the ease of access
- camera cable
- LCD cable
- Wi-Fi antennas
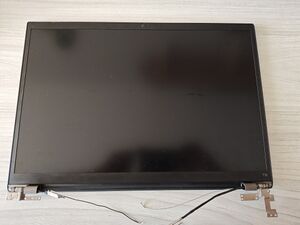
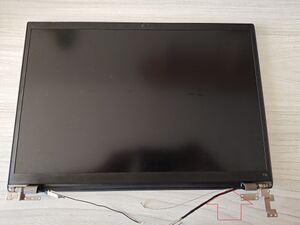
- separate the lid by removing hinge screws (Figure 5)
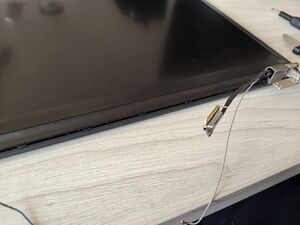
- separate the frame from the body, starting from bottom right corner (Figure 7 and Figure 8)
- disconnect the screen connector (Figure 10)
- attach new LCD screen and make sure it lies properly in place
- test your screen before applying new LCD tapes (Figure 11)
- attach everything in reverse order
